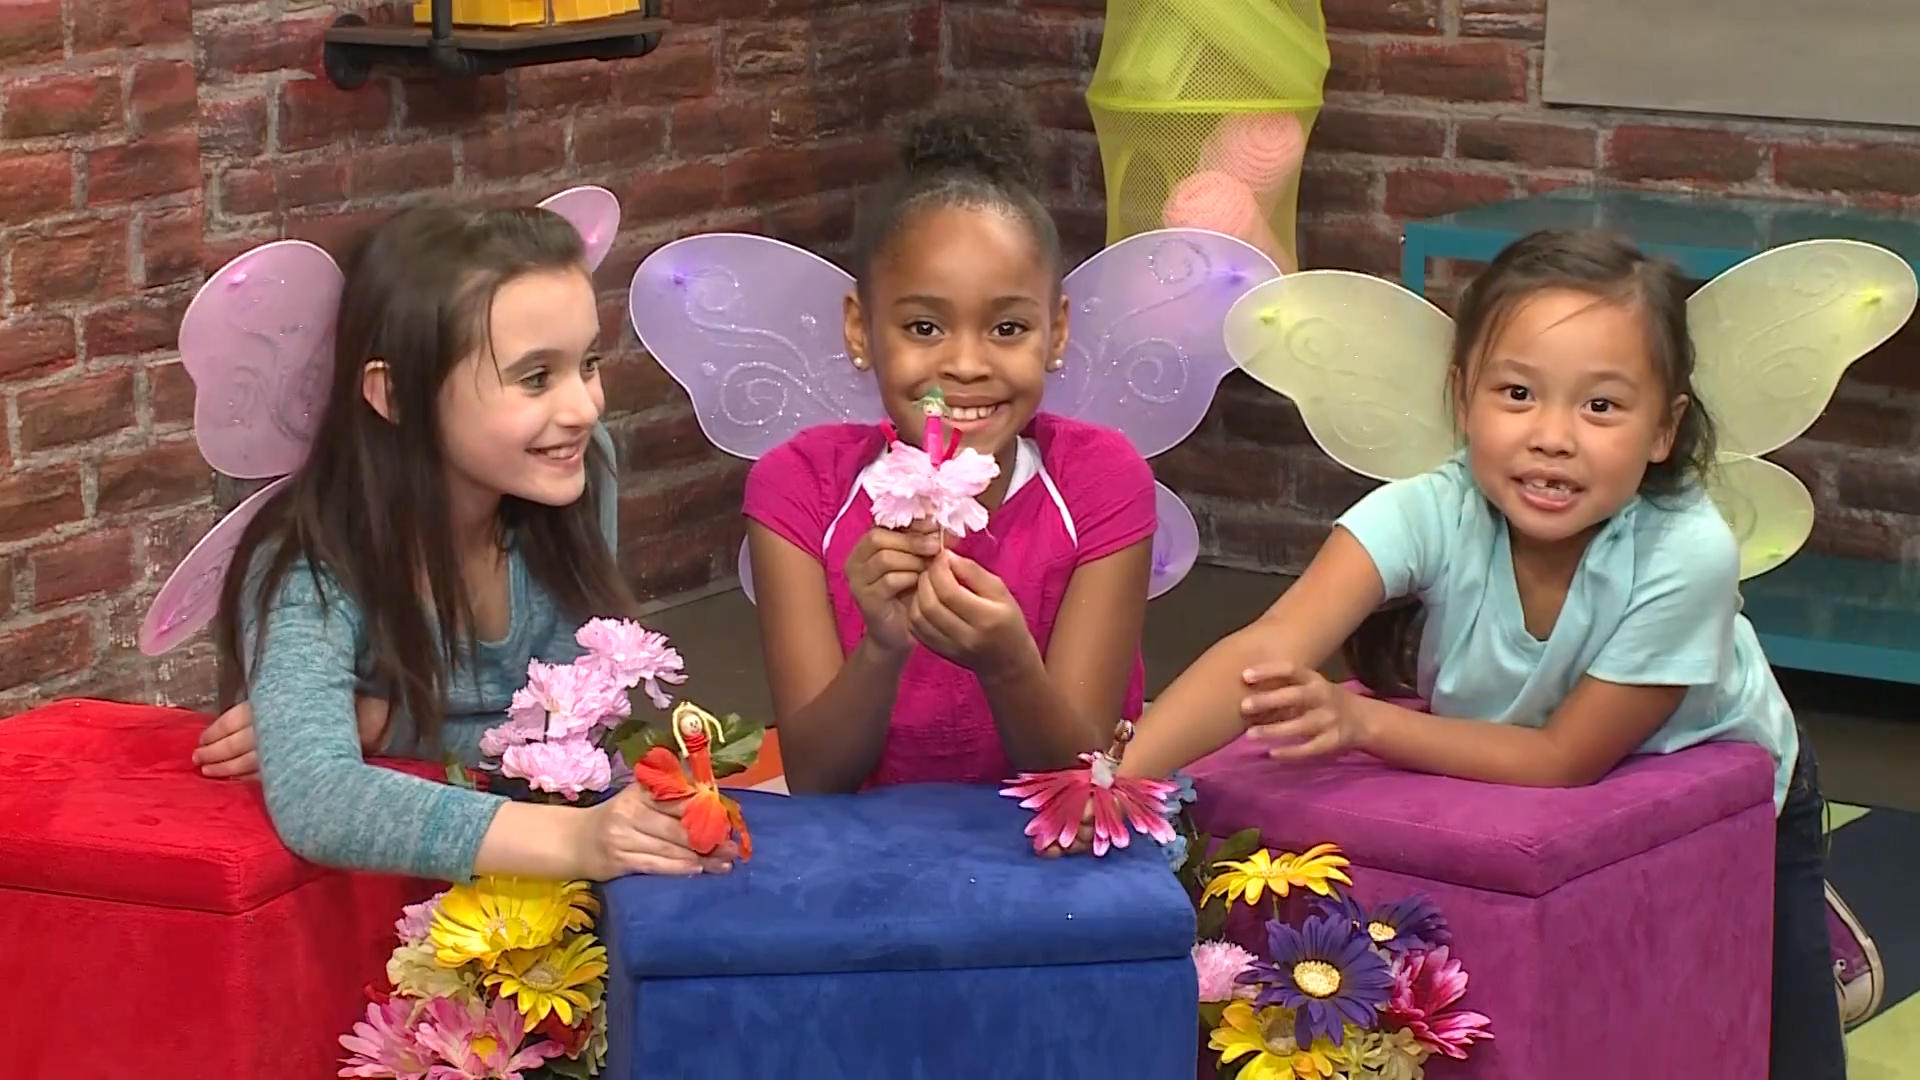
March 12th is National Plant A Flower Day! With spring just around the corner, this is a fantastic occasion to get ready and liven up your home or garden. If you can't get outside to plant some flowers with the kids, you can still brighten up the day with this adorable Flower Fairies craft. Simply follow the instructions below, or head to the Curious World App for a full tutorial video.
How To Make Flower Fairies
Materials
- Wood clothespins
- Markers
- Large flowers
- Leaves
- Scissors
- Sticky tape
- Ribbons or tissue paper
Note: Your flowers and leaves can be real or artificial, depending on how long you want the fairies to last!
Instructions
1. Draw your fairy's face
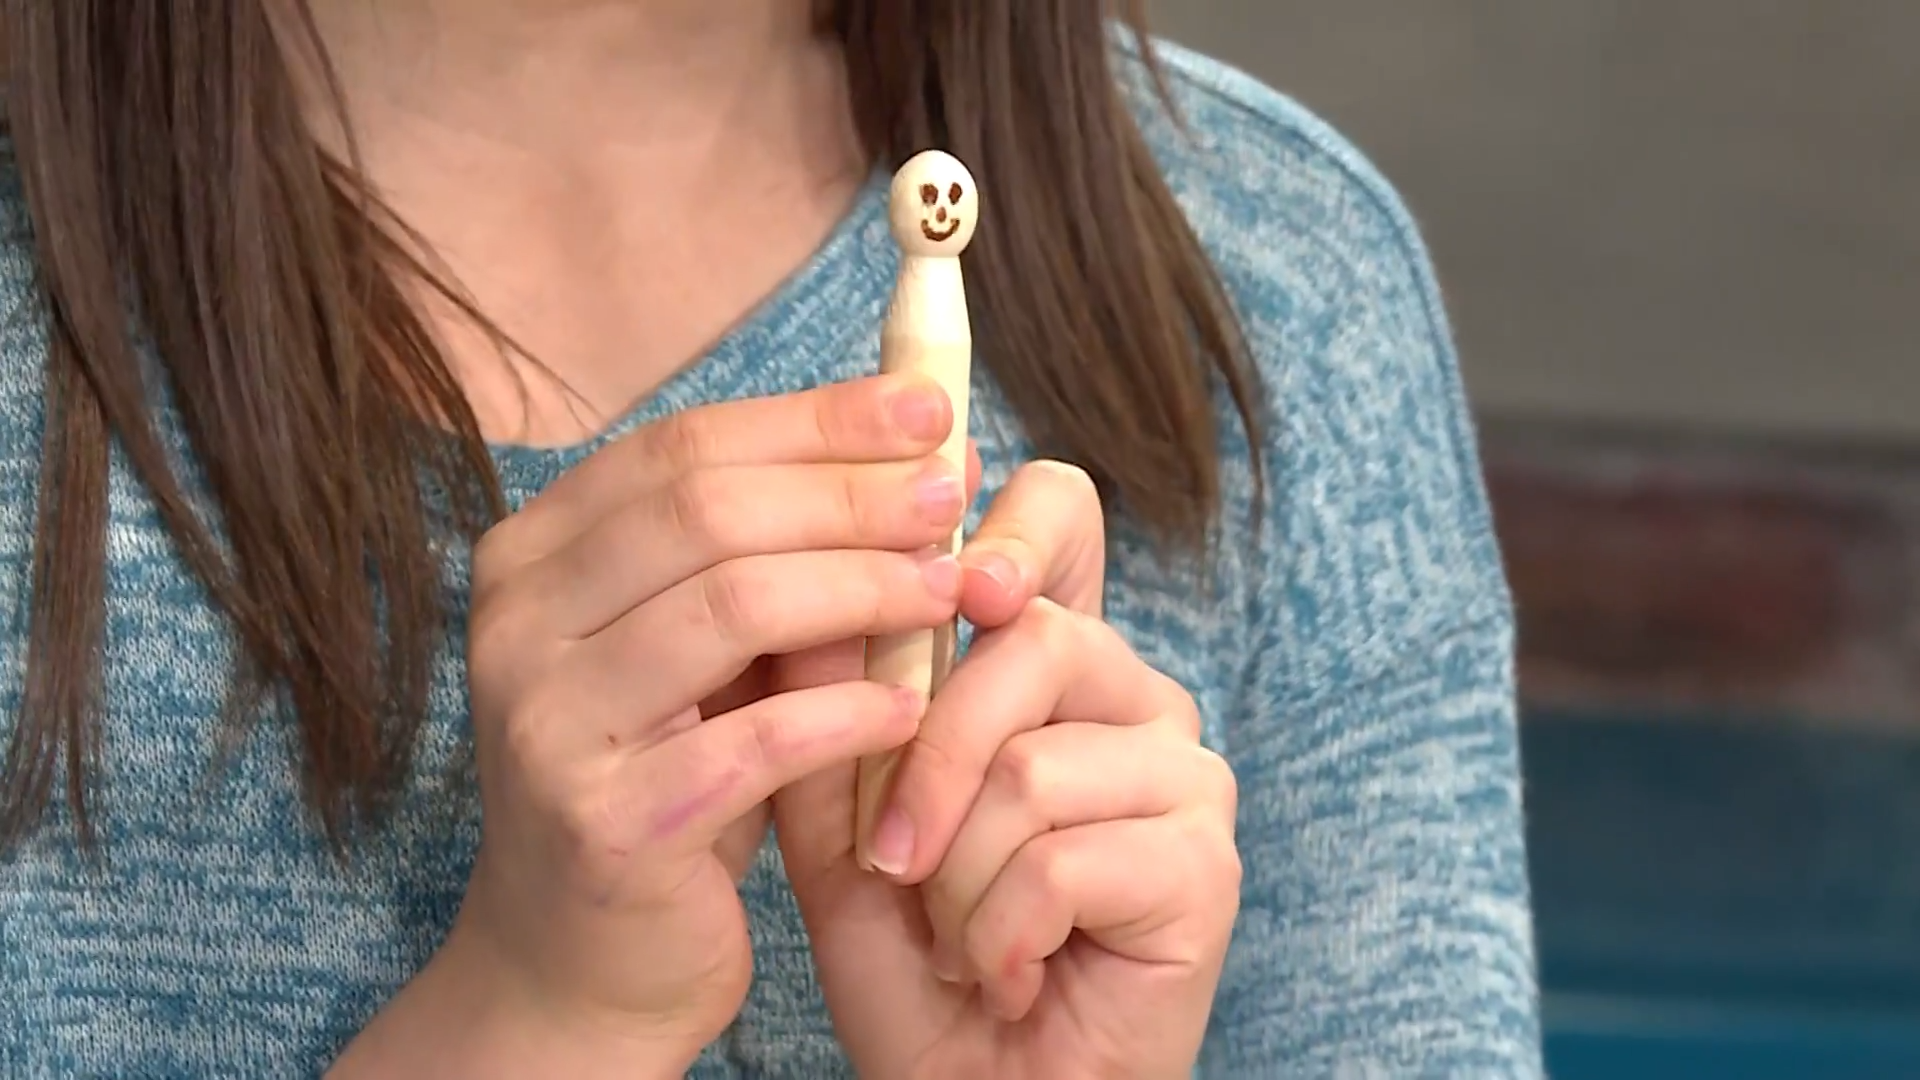
Draw a face on your clothespin, using a marker. You can give your fairy any features you like. This little artist has chosen to draw eyes, a nose, and a smile!
2. Make your fairy's skirt
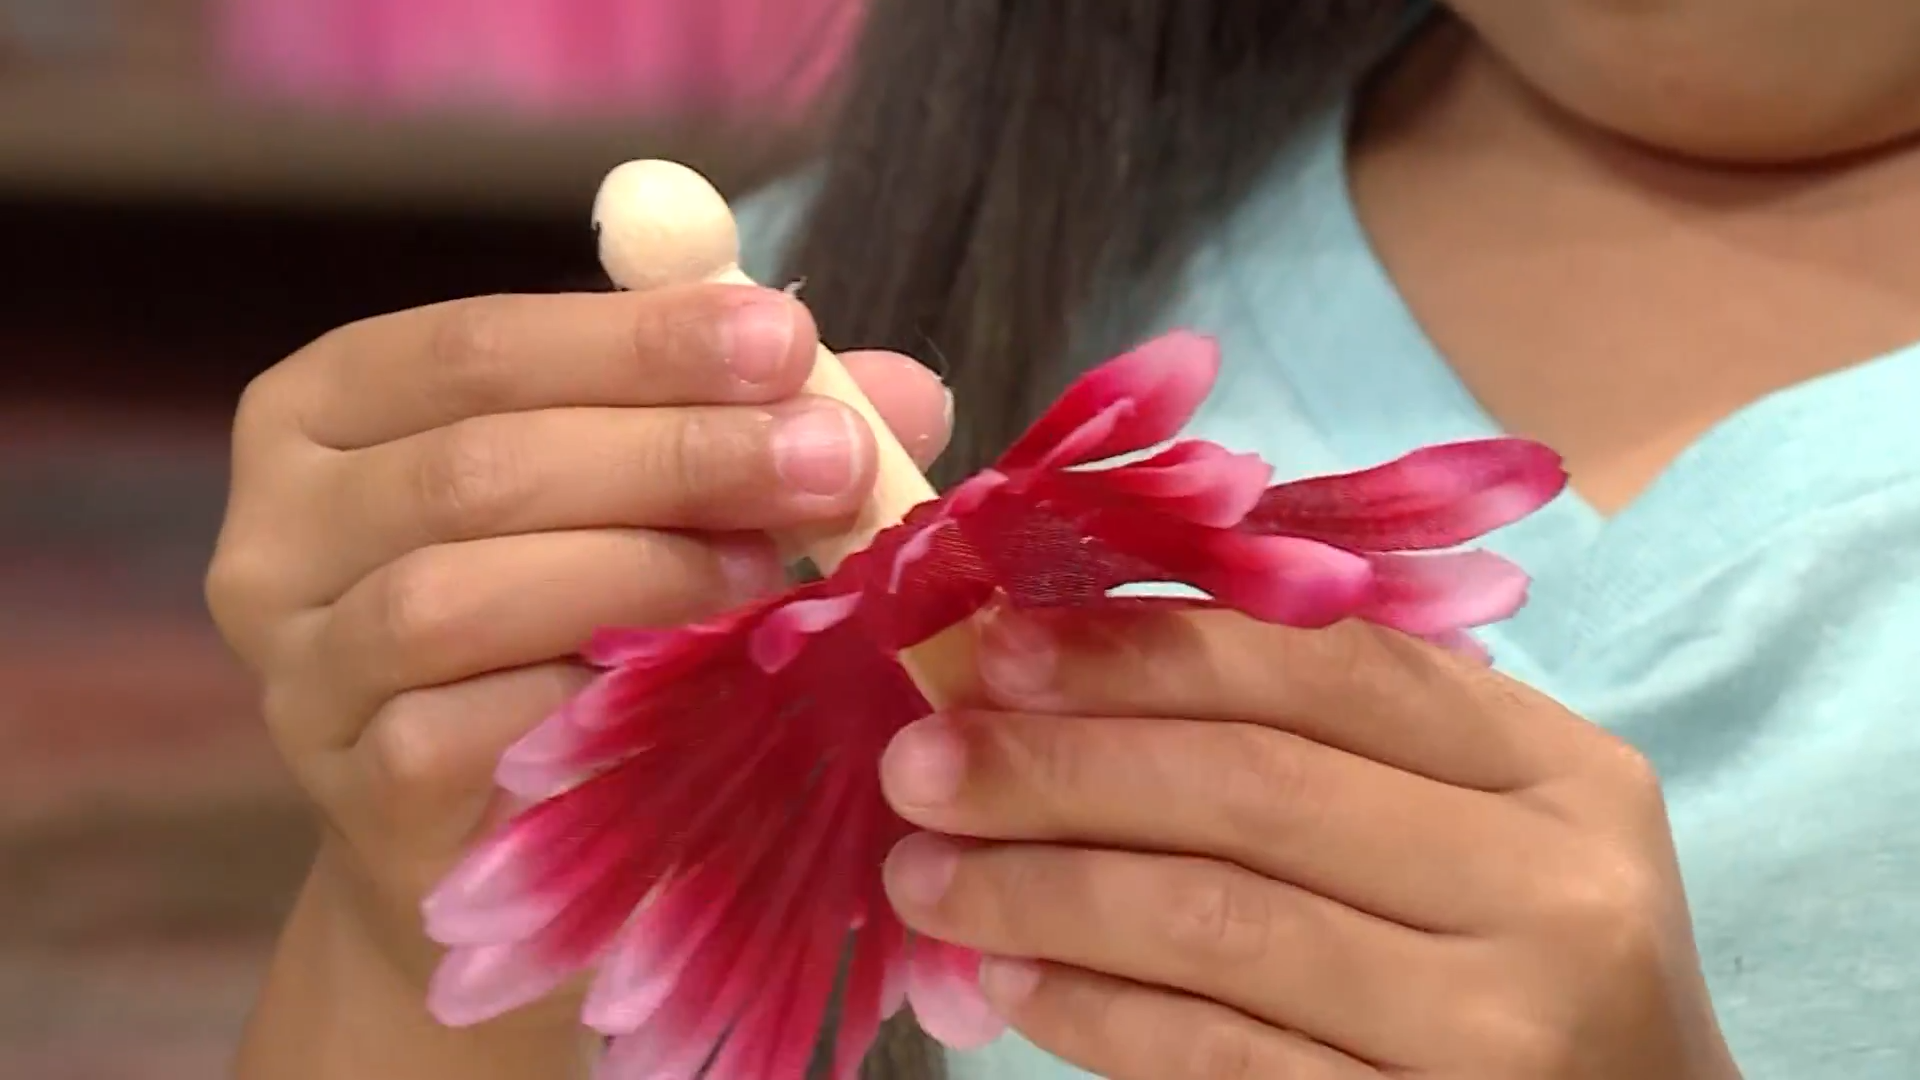
Take your flowers and cut two holes in the middle, large enough for the ends of the clothespin to fit through. Then, just slide the flowers on to make a flower petal skirt!
3. Make your fairy's top
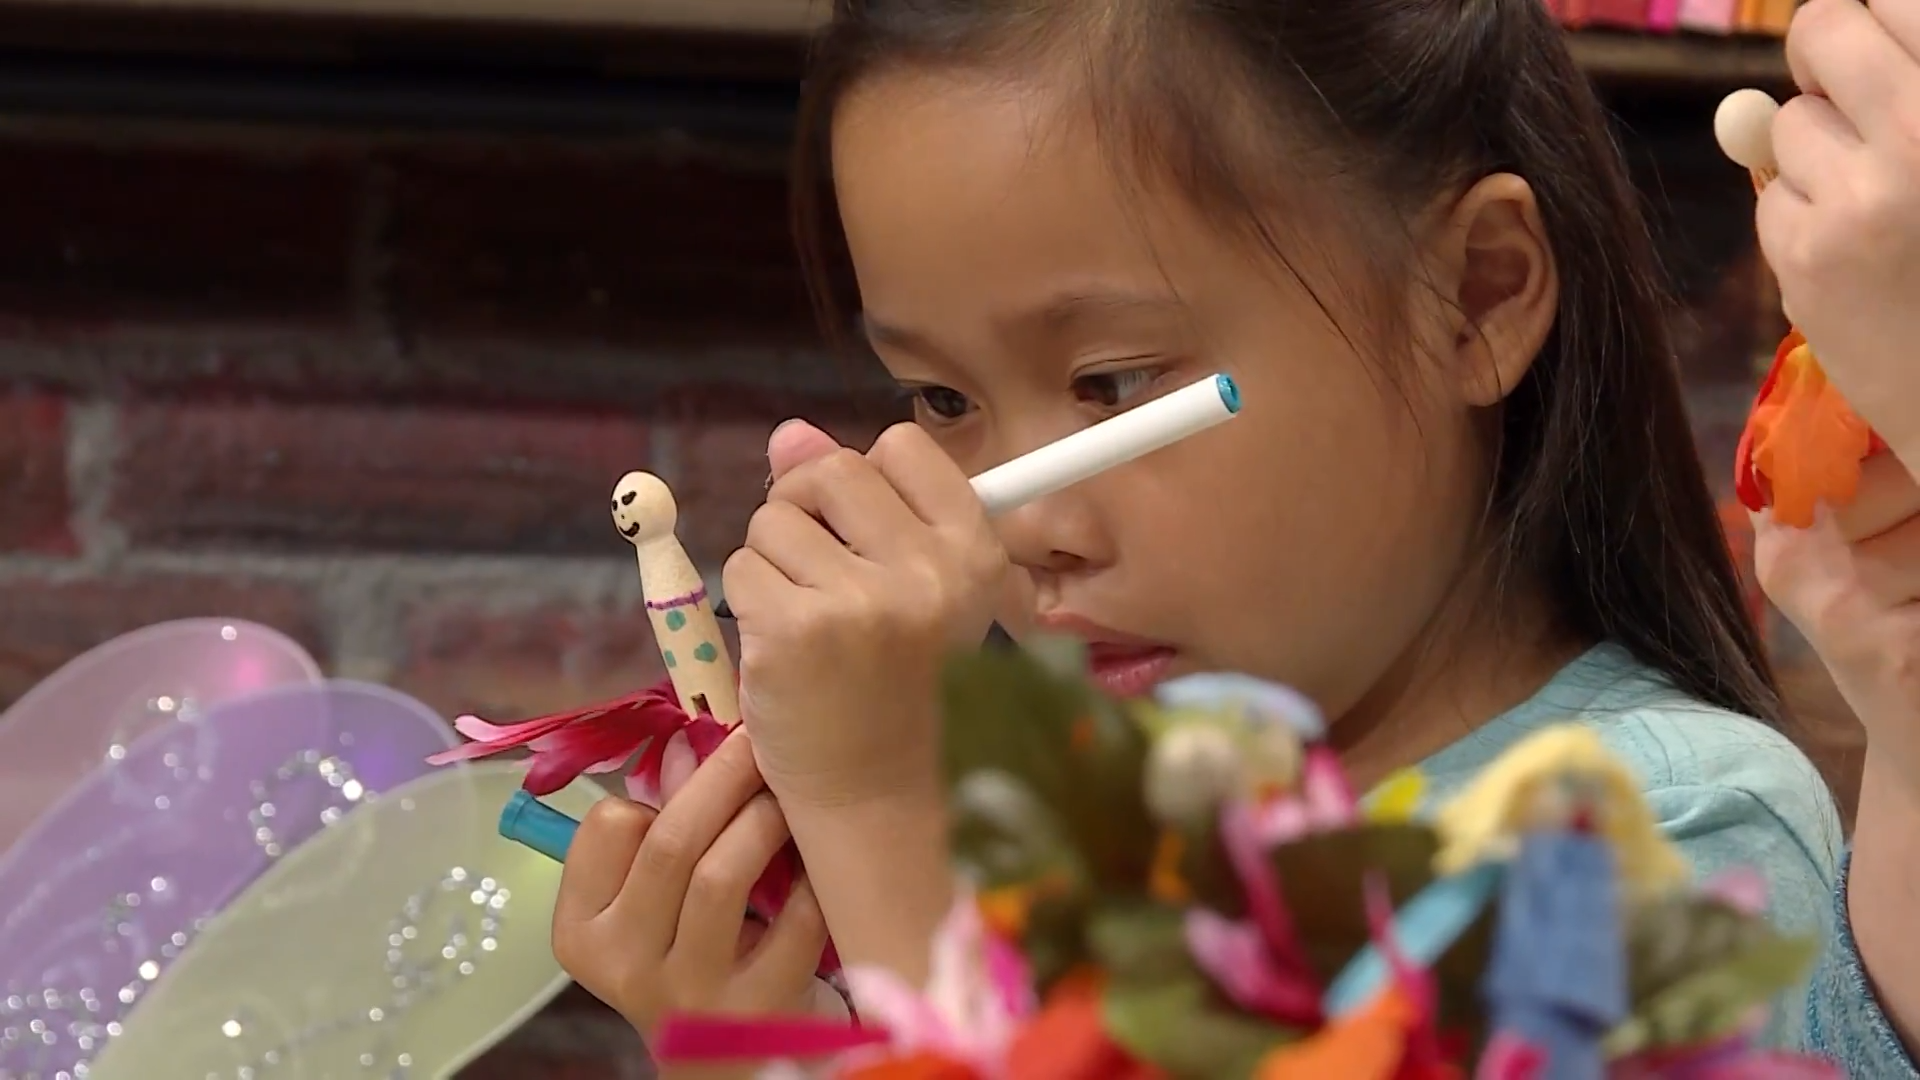
Use markers to draw your fairy's top. You can just color, or get creative like Gisela by adding stripes and dots!
4. Add fairy wings
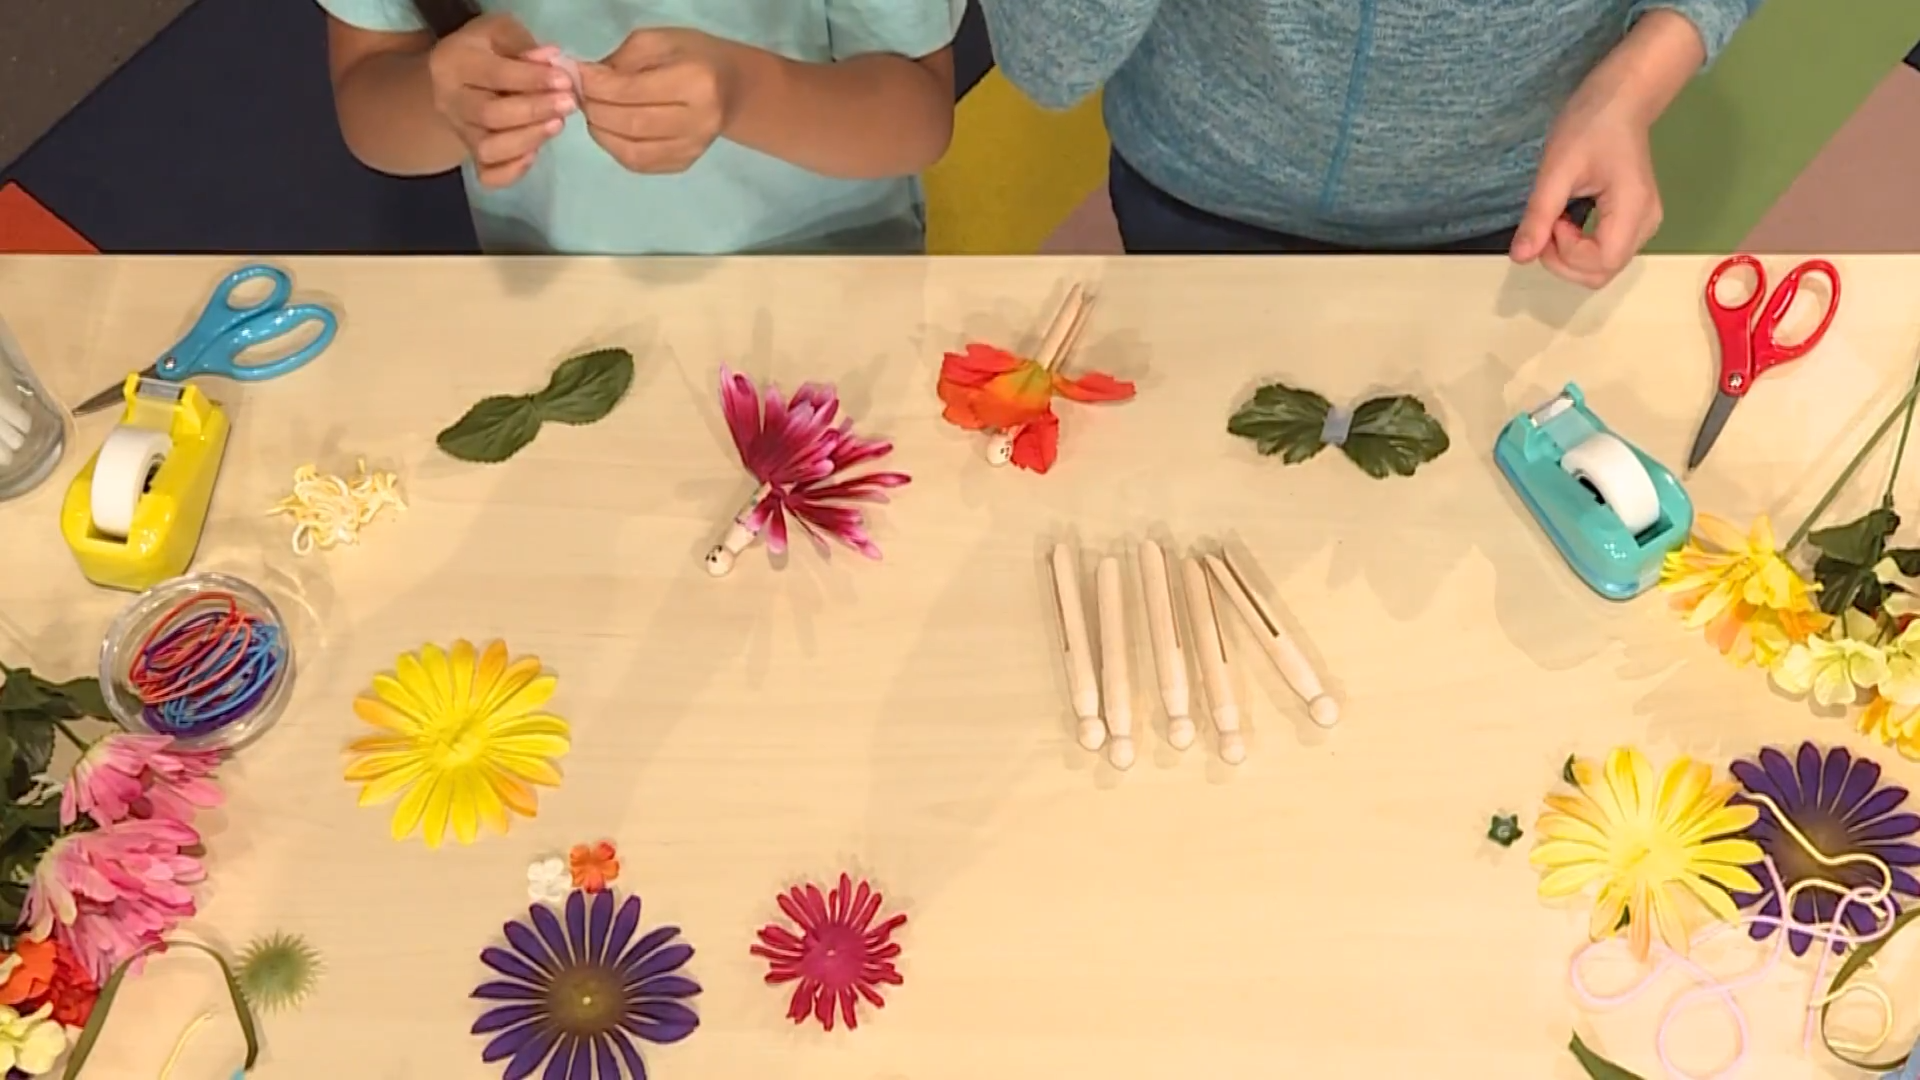
Fold your sticky tape so it sticks on both sides, or use double-sided tape. Take two leaves and stick them to the back of your fairy to create a pair of wings.
5. Decorate your fairy
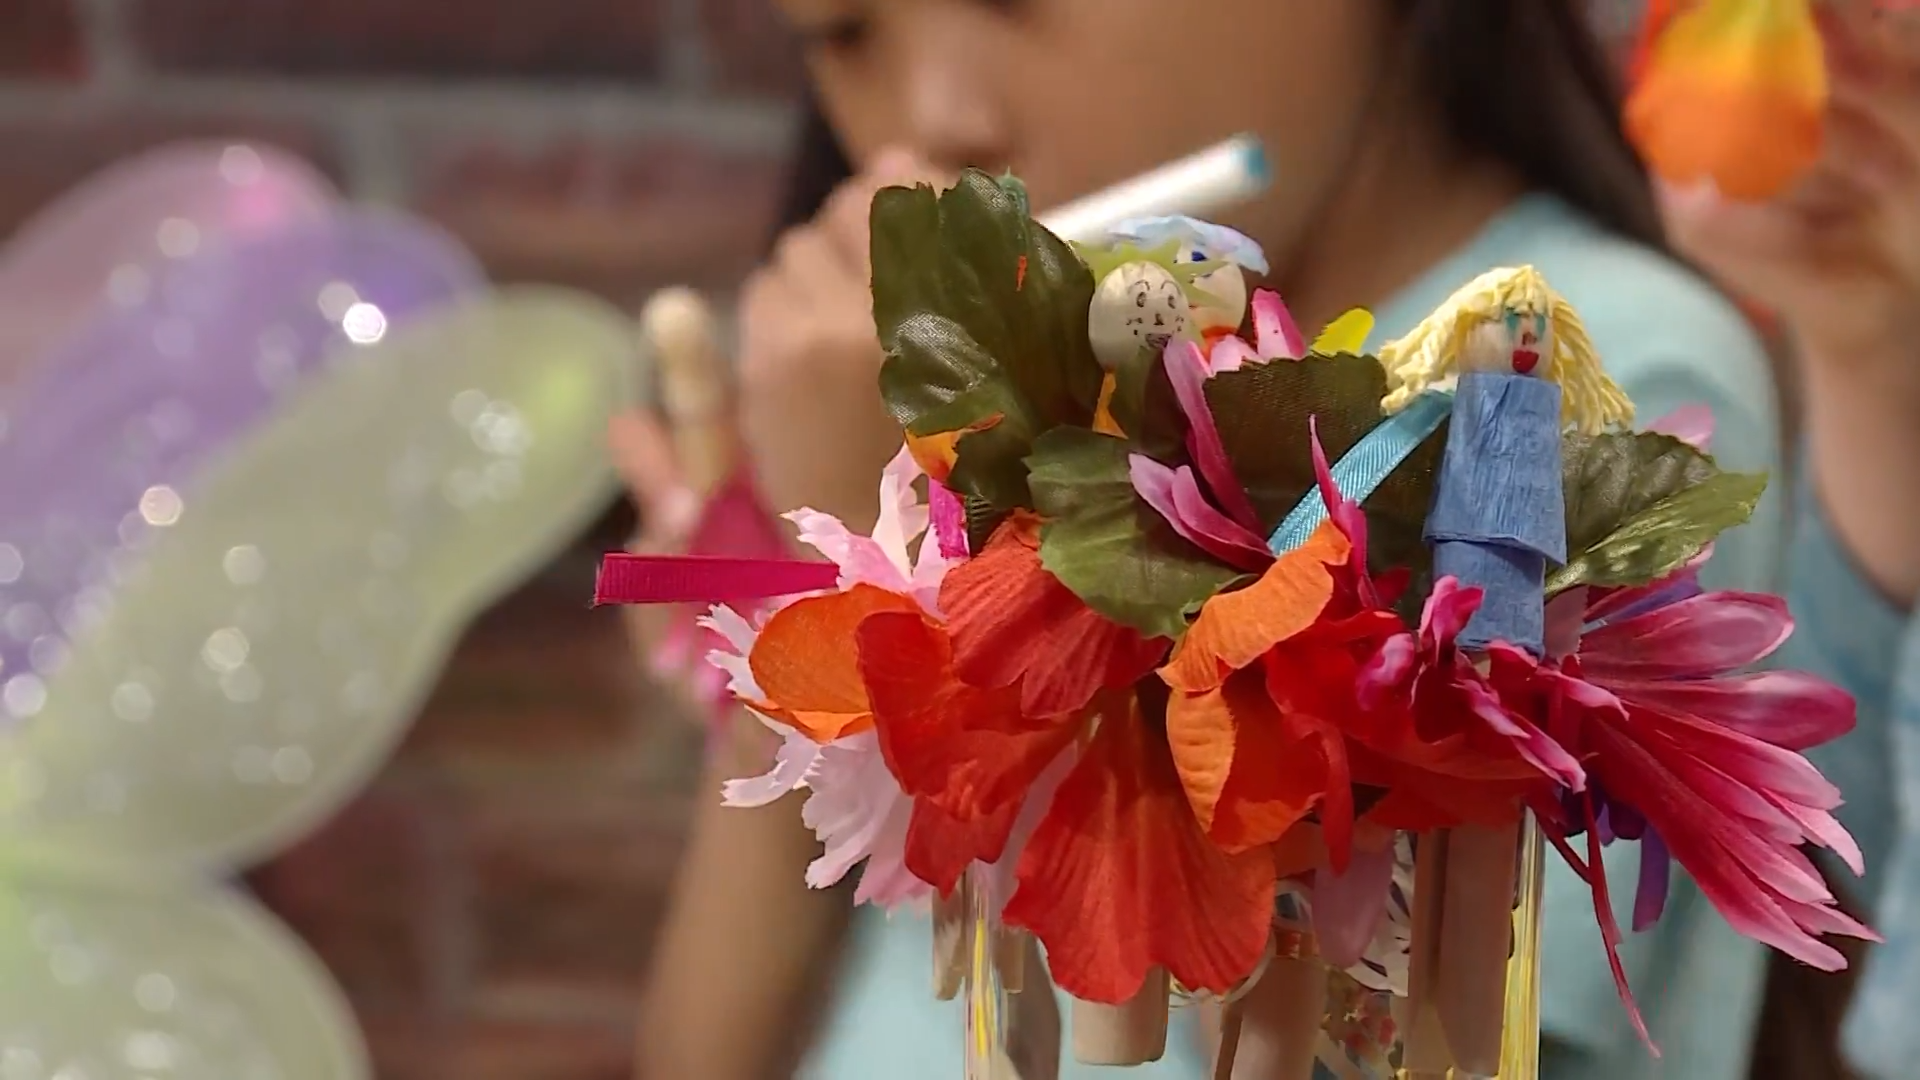
Make your fairy unique by designing hair and accessories made out of ribbons or tissue paper.
6. Time to play!
It's always a good idea to make time for imaginative play. Enjoy creating adventures with your new Flower Fairies!
Find the Flower Fairies tutorial and many more in the Curious World App. Sign up today with coupon CW_20 and get 20% off your first year!


